TAYLOR's Guitar

It Starts With an Idea
Using an original Fat Hand Guitars shape, Taylor selected colors and hardware: black satin back and neck, semi-transparent white top and headstock, gold Hipshot keys and bridge, Seymour Duncan pickups (Nazgul for the bridge and Sentient for the neck), and a custom black pick guard. The body is African Mahogany with White Ash drop top. The neck is maple with Royal Blackwood (torrefied Purpleheart) fretboard and "Legend of Zelda" themed gold inlay.

First things first
Time to glue up some African Mahogany lumber for the body.

Body Shaping
After the glue-up, the body was rough cut using the custom Fat Hand body template outline, then using the template, routed to its shape.

White Ash Drop Top
The top's book-matched pieces were glued together, rough cut to the template shape, then glued to the body.

Drop Top Done
After the glue was set, the top was routed to shape using the body as the template.

Sanding As Always
The top was sanded through all the usual grits stopping at 240.

Routing the Neck Pocket
Using the custome Fat Hand template set, Taylor cuts out the neck pocket to depth.

Time to get the neck started.
We started with a neck shape using an African Mahogany neck that I had cut to shape with its truss rod channel already routed out.

But that didn't work out.
Sadly, we discovered the Mahogany neck we started with warped, so we had to swap to a maple neck I had that already had its truss rod channel cut. Now to attach the fretboard which had its fret slots installed previously.

Shaping the Neck Contour
Using a jig made for forming the neck contour on a home made pin router, Taylor removes most of the material before finishing the neck contour with hand tools.

Carving the Fretboard for Inlay
After installing the truss rod and glueing the fretboard to the neck, Taylor begins to cut pockets for the Legend of Zelda Triforce inlay.

Inlay and Fret Markers Done
Though not clear in the photo, the fret markers are like embedded gold mirrors.
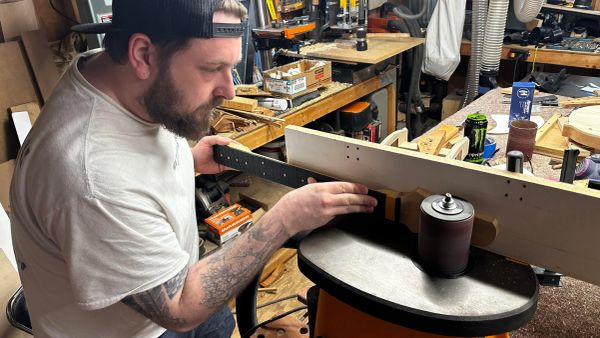
Thinning the Fender Style Headstock
This step lowers the surface of the headstock creating the break angle for the strings over the nut to the pegheads.

Adding Glue for Frets
Each fret gets a bead of CA glue in the slot before installation.
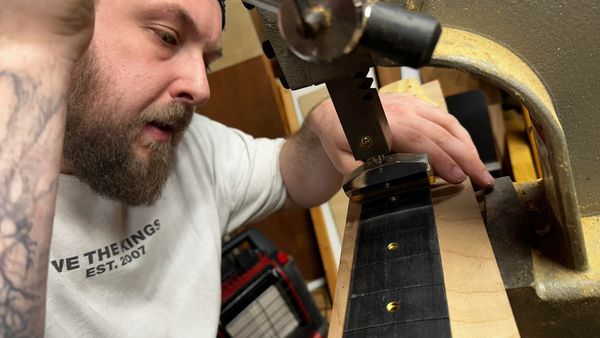
Pressing In Frets
Using an arbor press, each fret gets pressed into its new home.
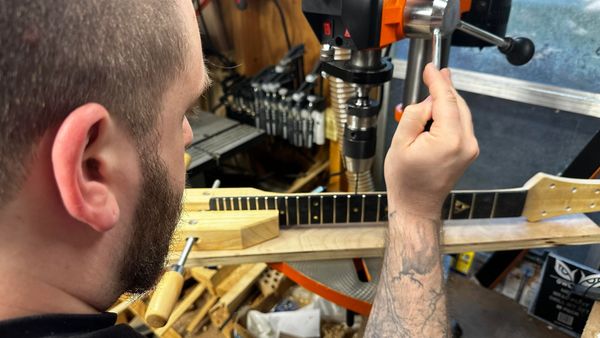
Drilling Side Dots
The side dots are matching embedded reflective gold mirrors.
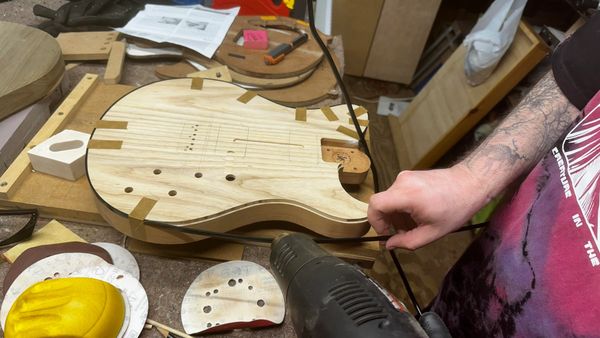
Installing Binding
The black binding will make a nice crisp black line around the transparent white paint. After the binding channel was routed, a heat gun is used to soften the material enough to make it easily conform the shape of the guitar.
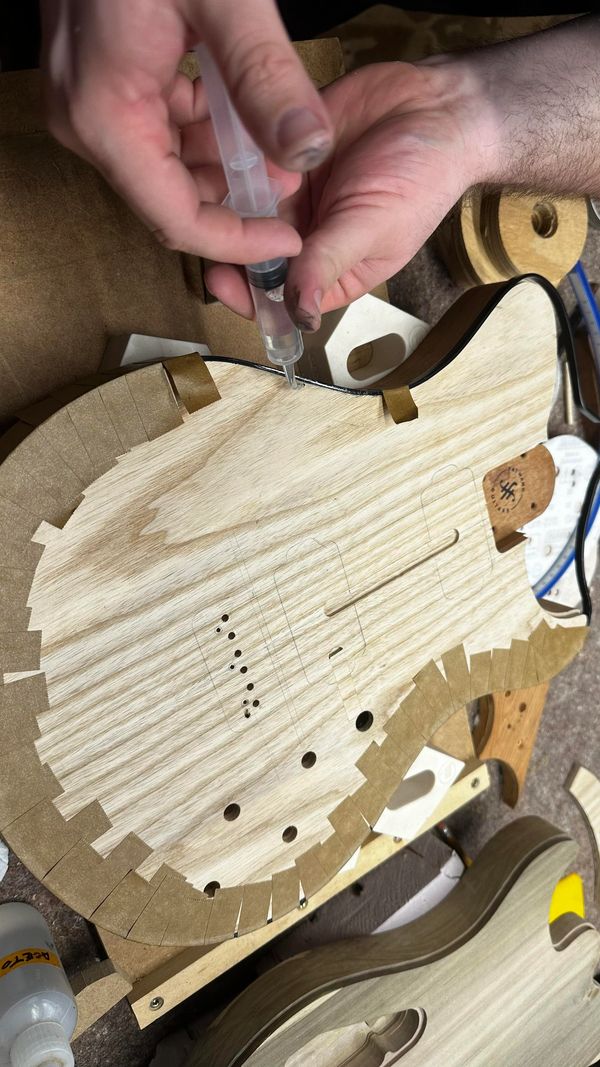
Installing Binding
Starting from the back, acetone is used to adhere the binding into the channel. The acetone melts the plastic as it is wicked into the space between the wood and the binding. Strong tape is stretched over it to hold it in place while it cures.
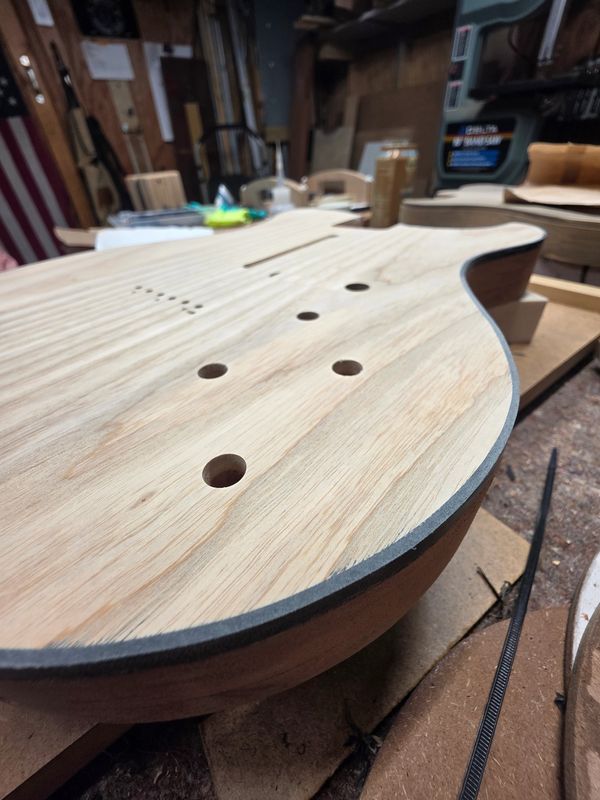
Installed Binding
After a bit of scrapiong to level the binding to the body, a bit of sanding finishes the job for a clean edge.
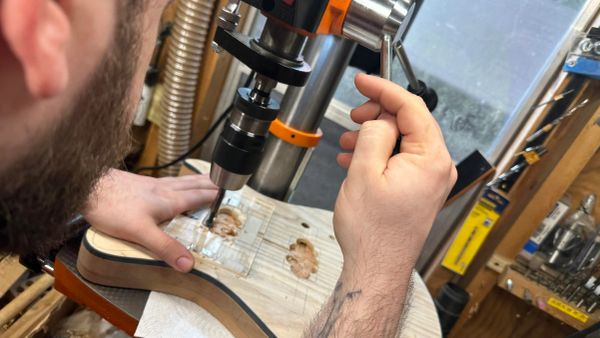
Starting the Pickup Cavities
The first step after determining placement was to remove as much of the material as possible using a drill press and forstner bit (less work for the router).
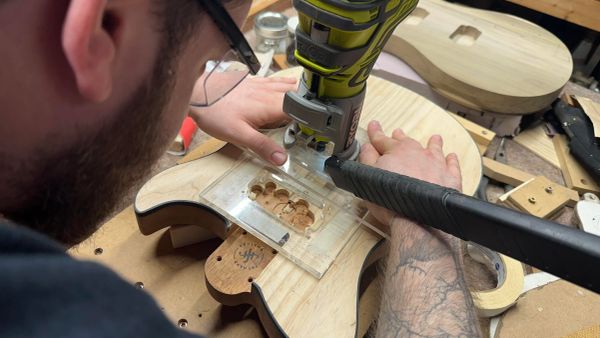
Routing the Pickup Cavities
Using an acrylic template, each pickup cavity gets routed to its final shape and depth.
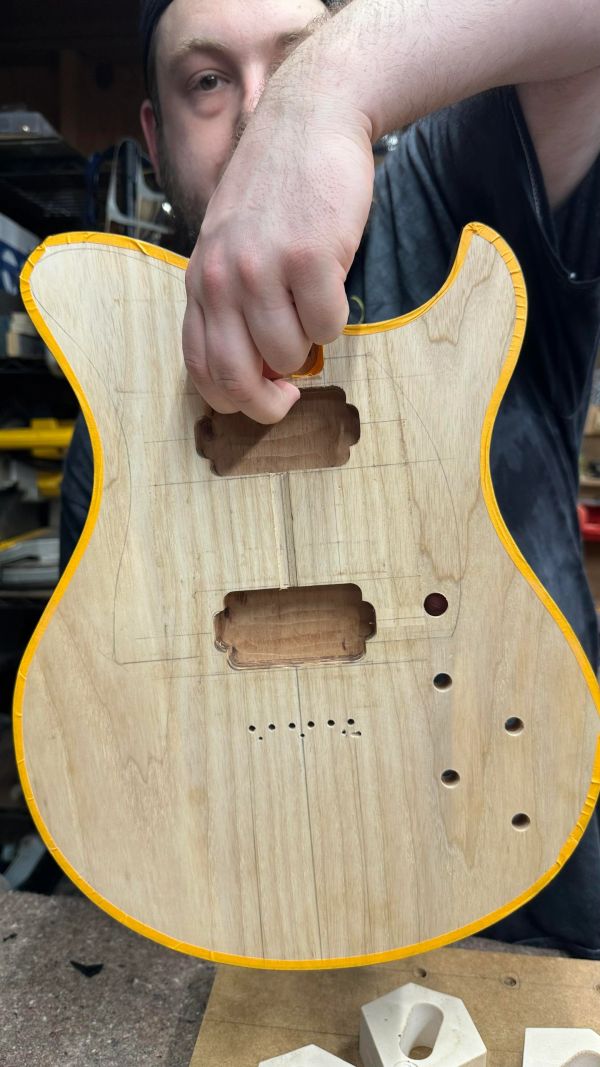
Pickup Cavities Done
Though the process was not photographed, this shows the holes for the strings and bridge, as well as for the knobs and switches. The binding has been taped off in preparation for the start of finishing.
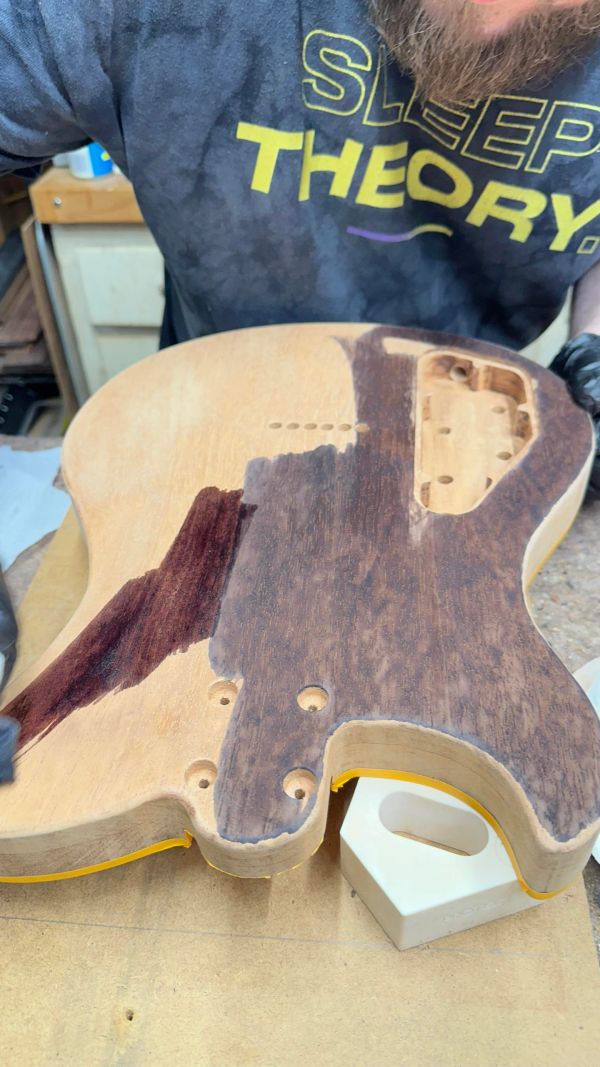
Finishing Begins
We began by staining the Mahogany black since the body and neck back would be painted black.
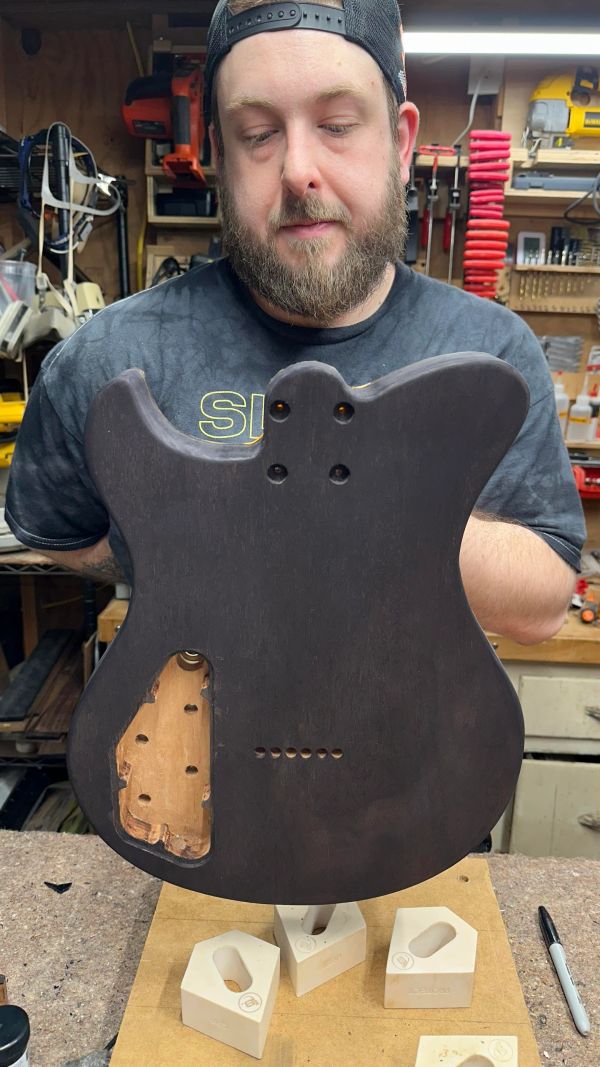
Looked Good Anyway
It turned out to be an uneccessary step, but was a good learning experience to see how black Transtint dye works on raw Mahogany.
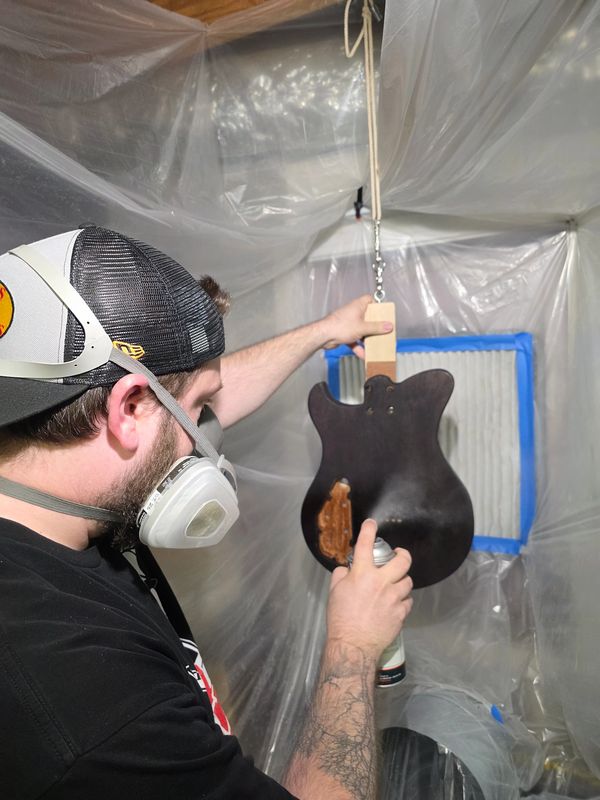
Sealer to Lock in the Dye
Taylor sprayed rattle cans of Mohawk clear Vinyl Sealer to lock in the dye like a primer.
Painting the Body Back
It seemed a good idea to spray outdoors while it was low wind and humidity. Here Taylor applies Mohawk Black Satin Lacquer Enamel.
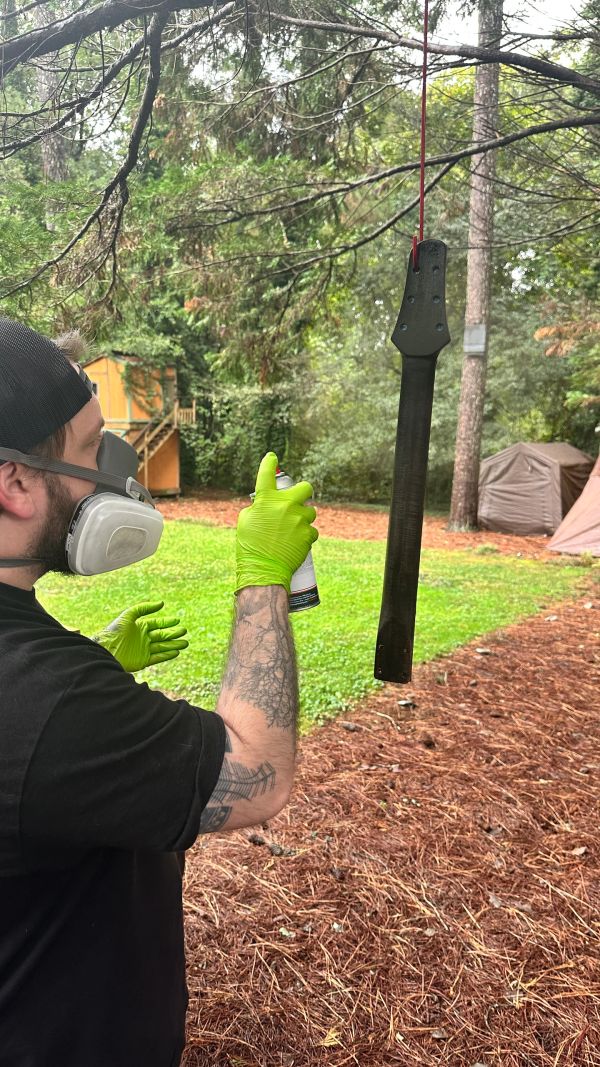
Painting the Neck Back
The same paint is used: Mohawk Black Satin Lacquer Enamel.
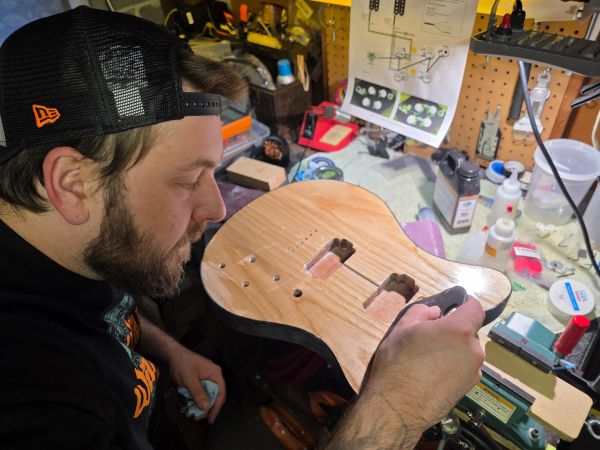
Grain Filling the Top
As was used on the back, we sealed and filled the pores of the wood with Solarez 'I Can't Believe It's Not Lacquer Grain Sealer/Filler.' It too is UV cured using the lamp we have or exposing it to sunlight. This gets applied with a squeegee and is very easy to use. Several coats were needed to fill the deep grain of the White Ash and Mahogany.
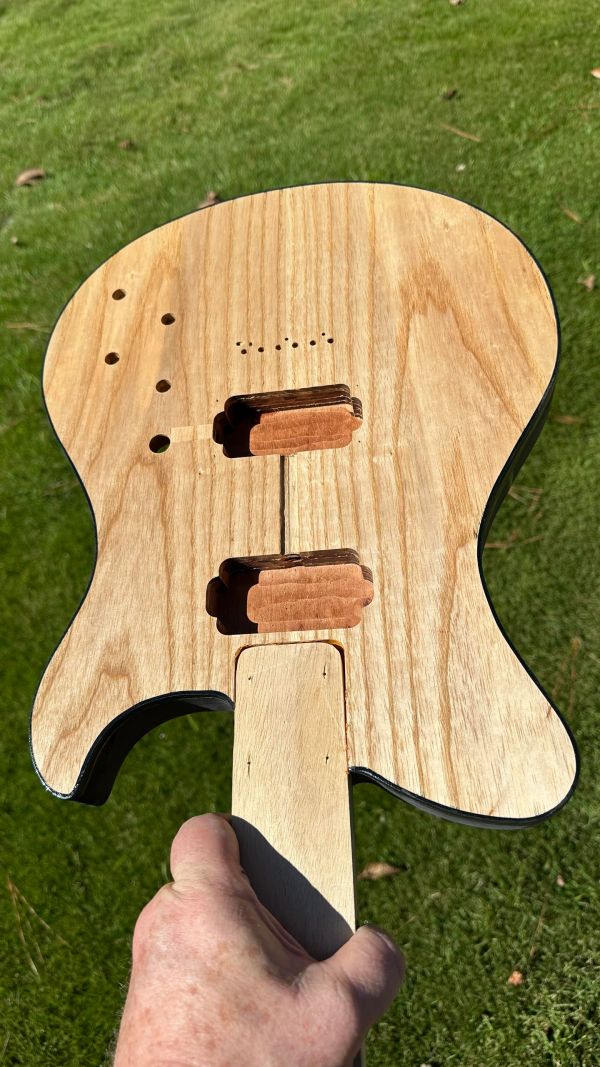
Ready to Tape Off the Top
It's amazing how hard and easily sanded Solarez is after curing. It's a great product and cures quickly in sunlight.
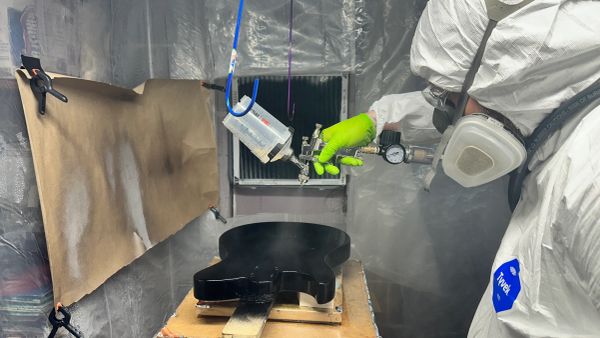
Trying "Clean Armor" as a Top Coat
In hopes of accelerating the topcoat finishing time using UV-cured polyester resin coatings, we tried spraying Clean Armor's Classical Instrument 820 Satin Clear Coat. As opposed to lacquer which cures and hardens over the course of weeks, this product cures as hard as a rock in minutes.
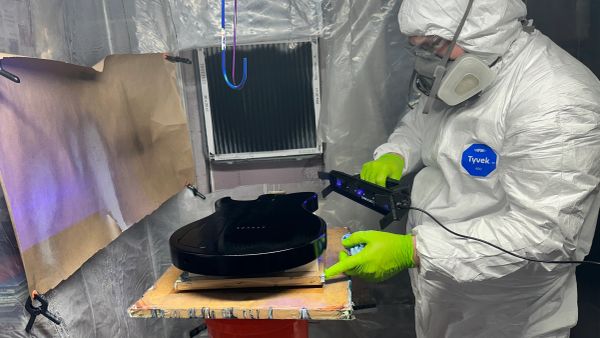
UV Curing
The curing process is done with a handheld UV lamp. This one (CORE from Lite'N Done) uses LED UV lights.
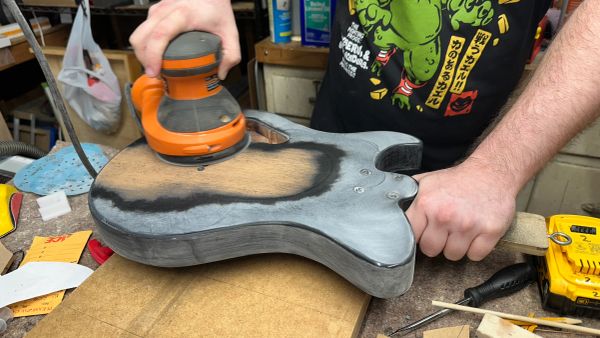
UV Curing Failure - Live and Learn
Unfortunately, the light was held too close and caused the finish to wrinkle and distort. We didn't know at the time. The wet surface also attracted a ton of dust which became a real issue no matter what we sprayed leading us to make incremental improvements to the home made spray booth as we went. We had no choice but to sand it all back to wood and start over. Ouch!
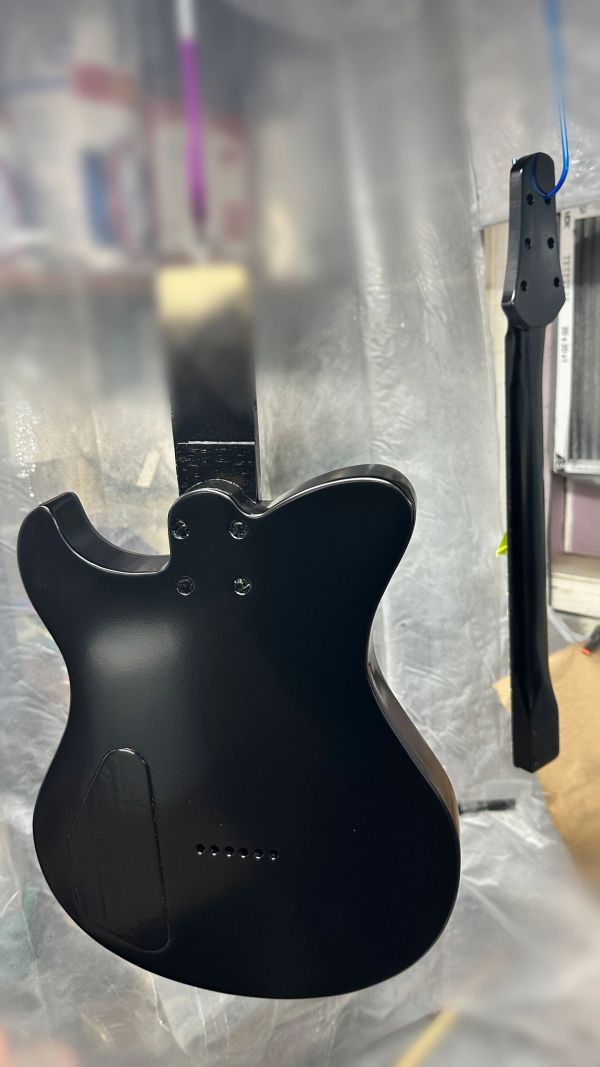
Neck and Back Repainted, Top Coated
So we bought more black paint, went through all the steps again, but this time we decided to go back to all lacquer until we learn how to control the UV products more proficiently. For the topcoat, we used a 1:1 mixture of Mohawk's Instrument Sealer and Piano Lacquer to achieve a satin finish. All the steps we took to help mitigate dust seemed to pay off, and the paint gods graced us with a smooth finish. Now we must keep it safe while painting the top transparent white.

Lets All Go To the Lobby
More to come...